
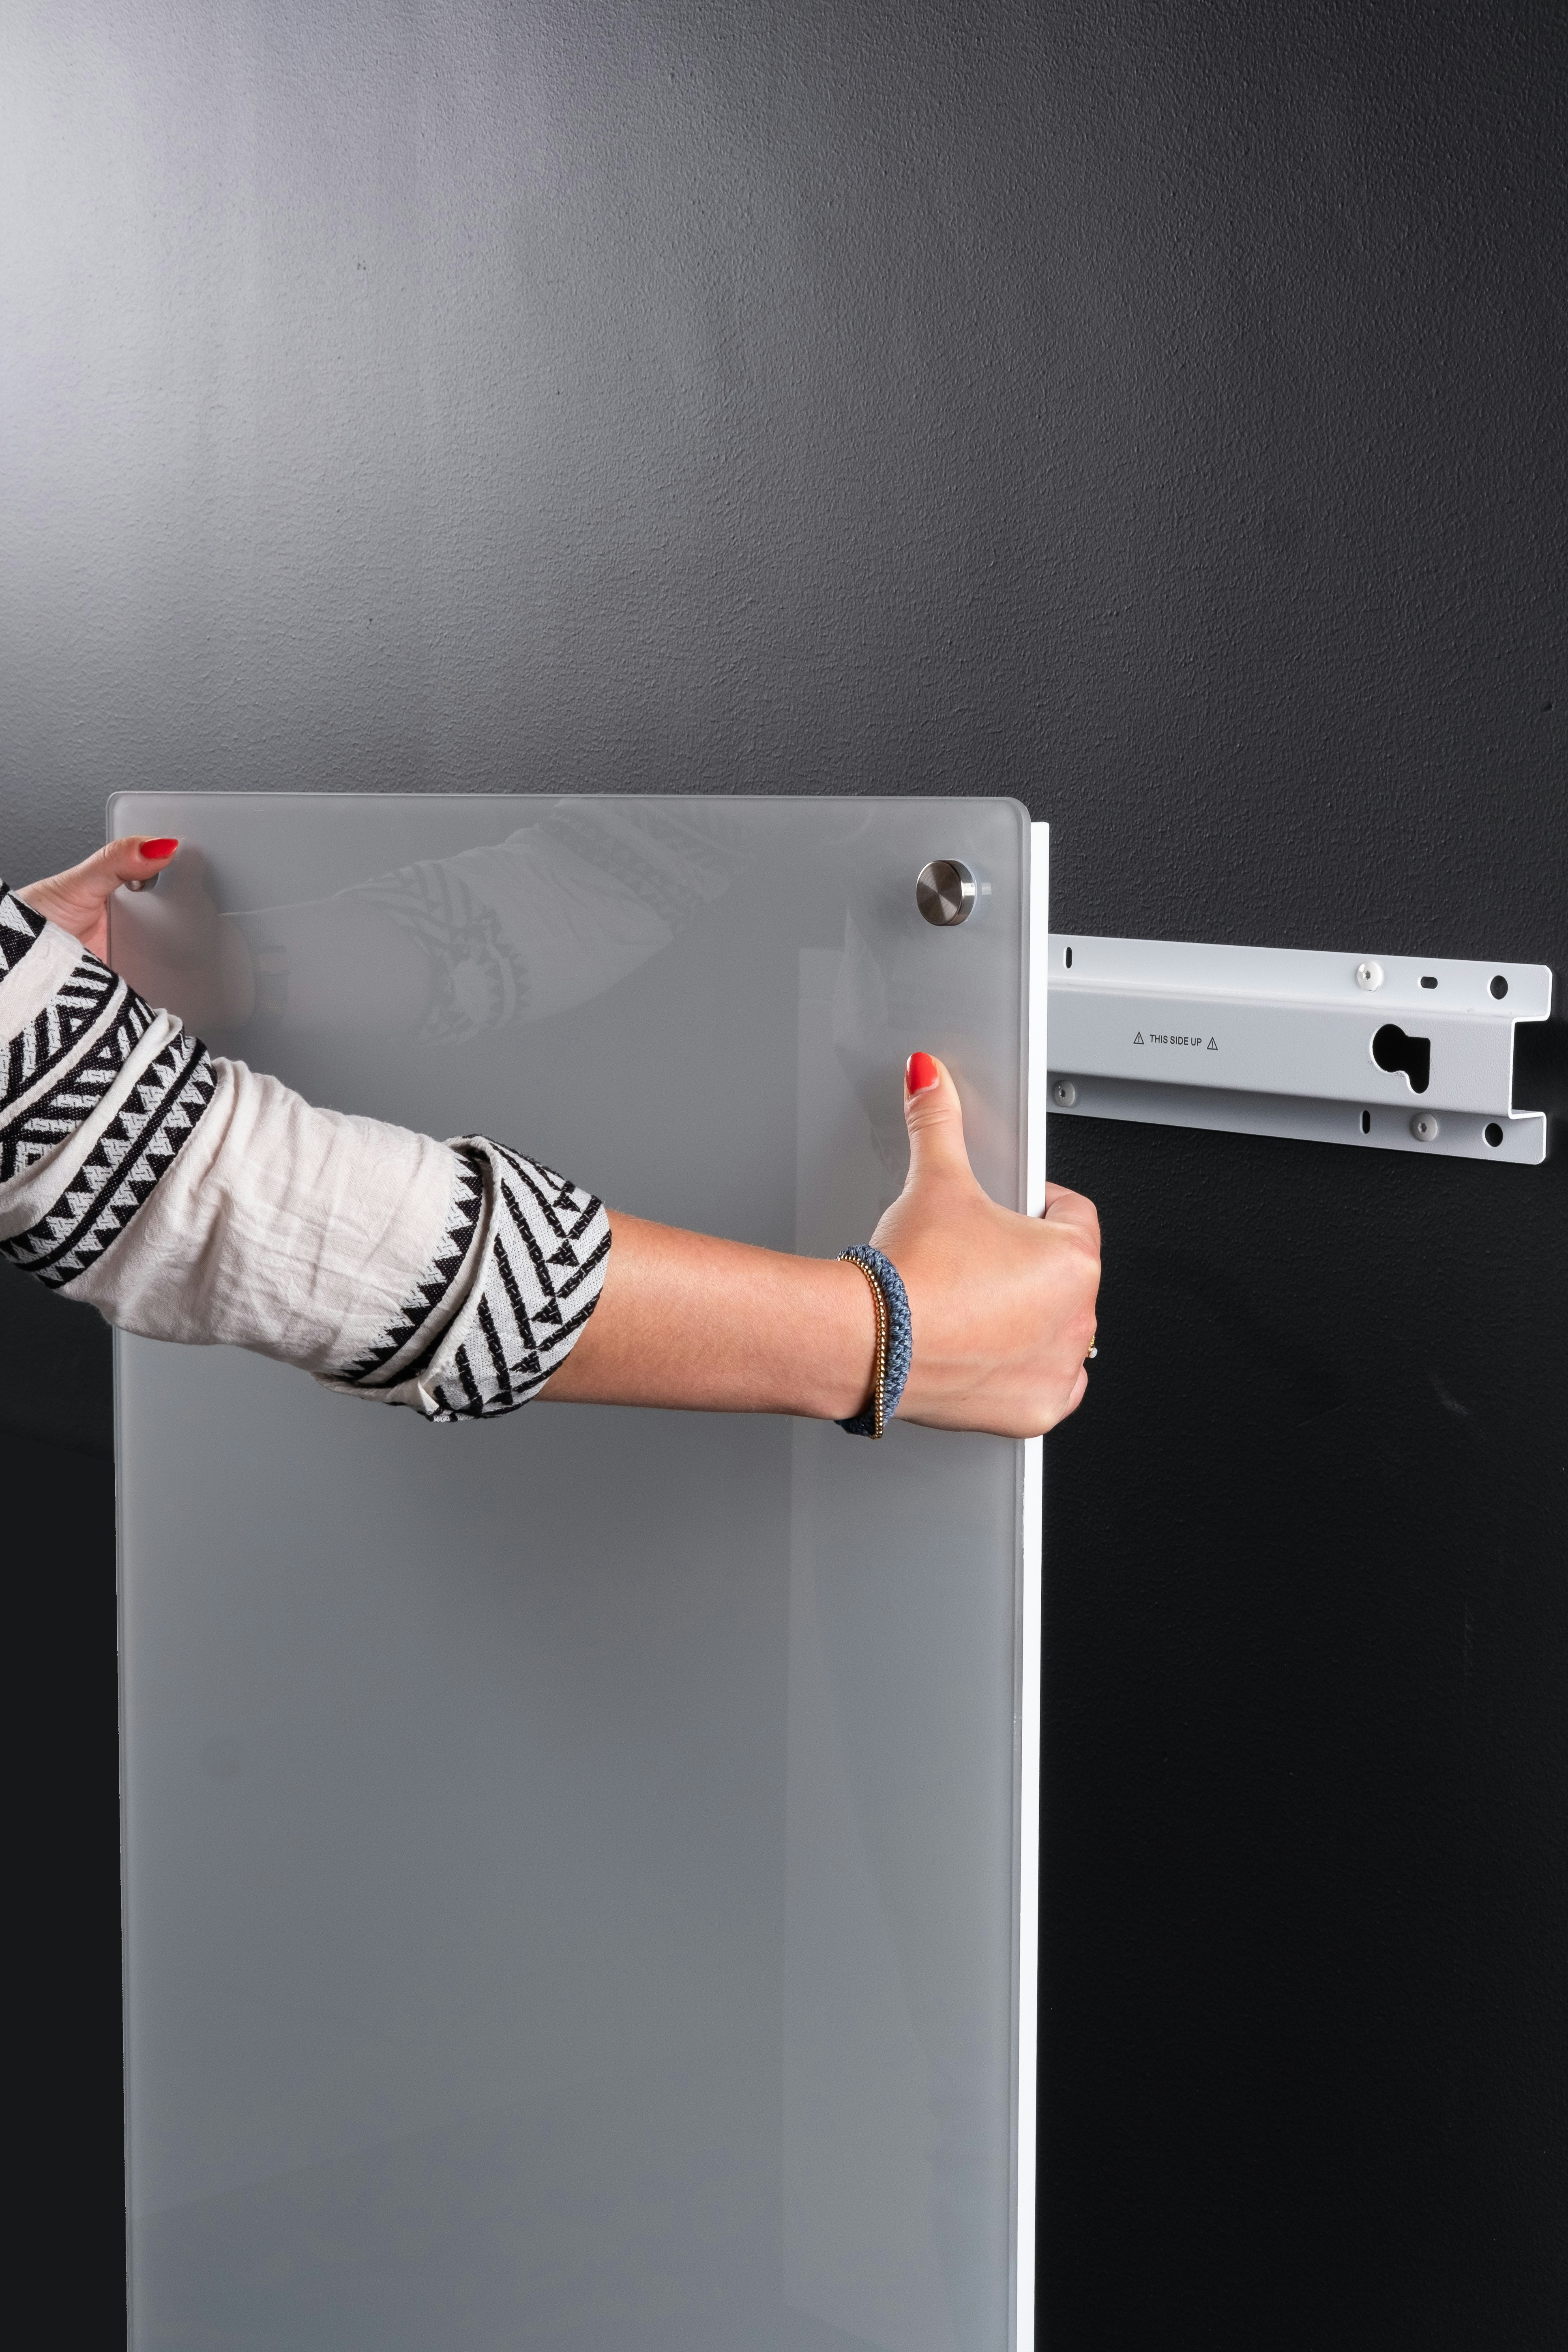
Professional Installation Made Simple
Everything you need to know to achieve a flawless finish. Follow our comprehensive guides for a seamless installation process.
Pre-Installation Checklist
Required Tools
- Tape measure & pencil
- Spirit level
- Fine-tooth saw (circular or hand)
- High-grab construction adhesive
- Screws & drill (optional)
Surface Preparation
- Ensure wall is clean and dry
- Remove loose paint or wallpaper
- Fill any large cracks or holes
- Check wall for plumb/level
Important Notes
Allow panels to acclimatize in the room for 48 hours prior to installation. Do not install in areas with high moisture unless using our specific moisture-resistant range.
Step-by-Step Installation
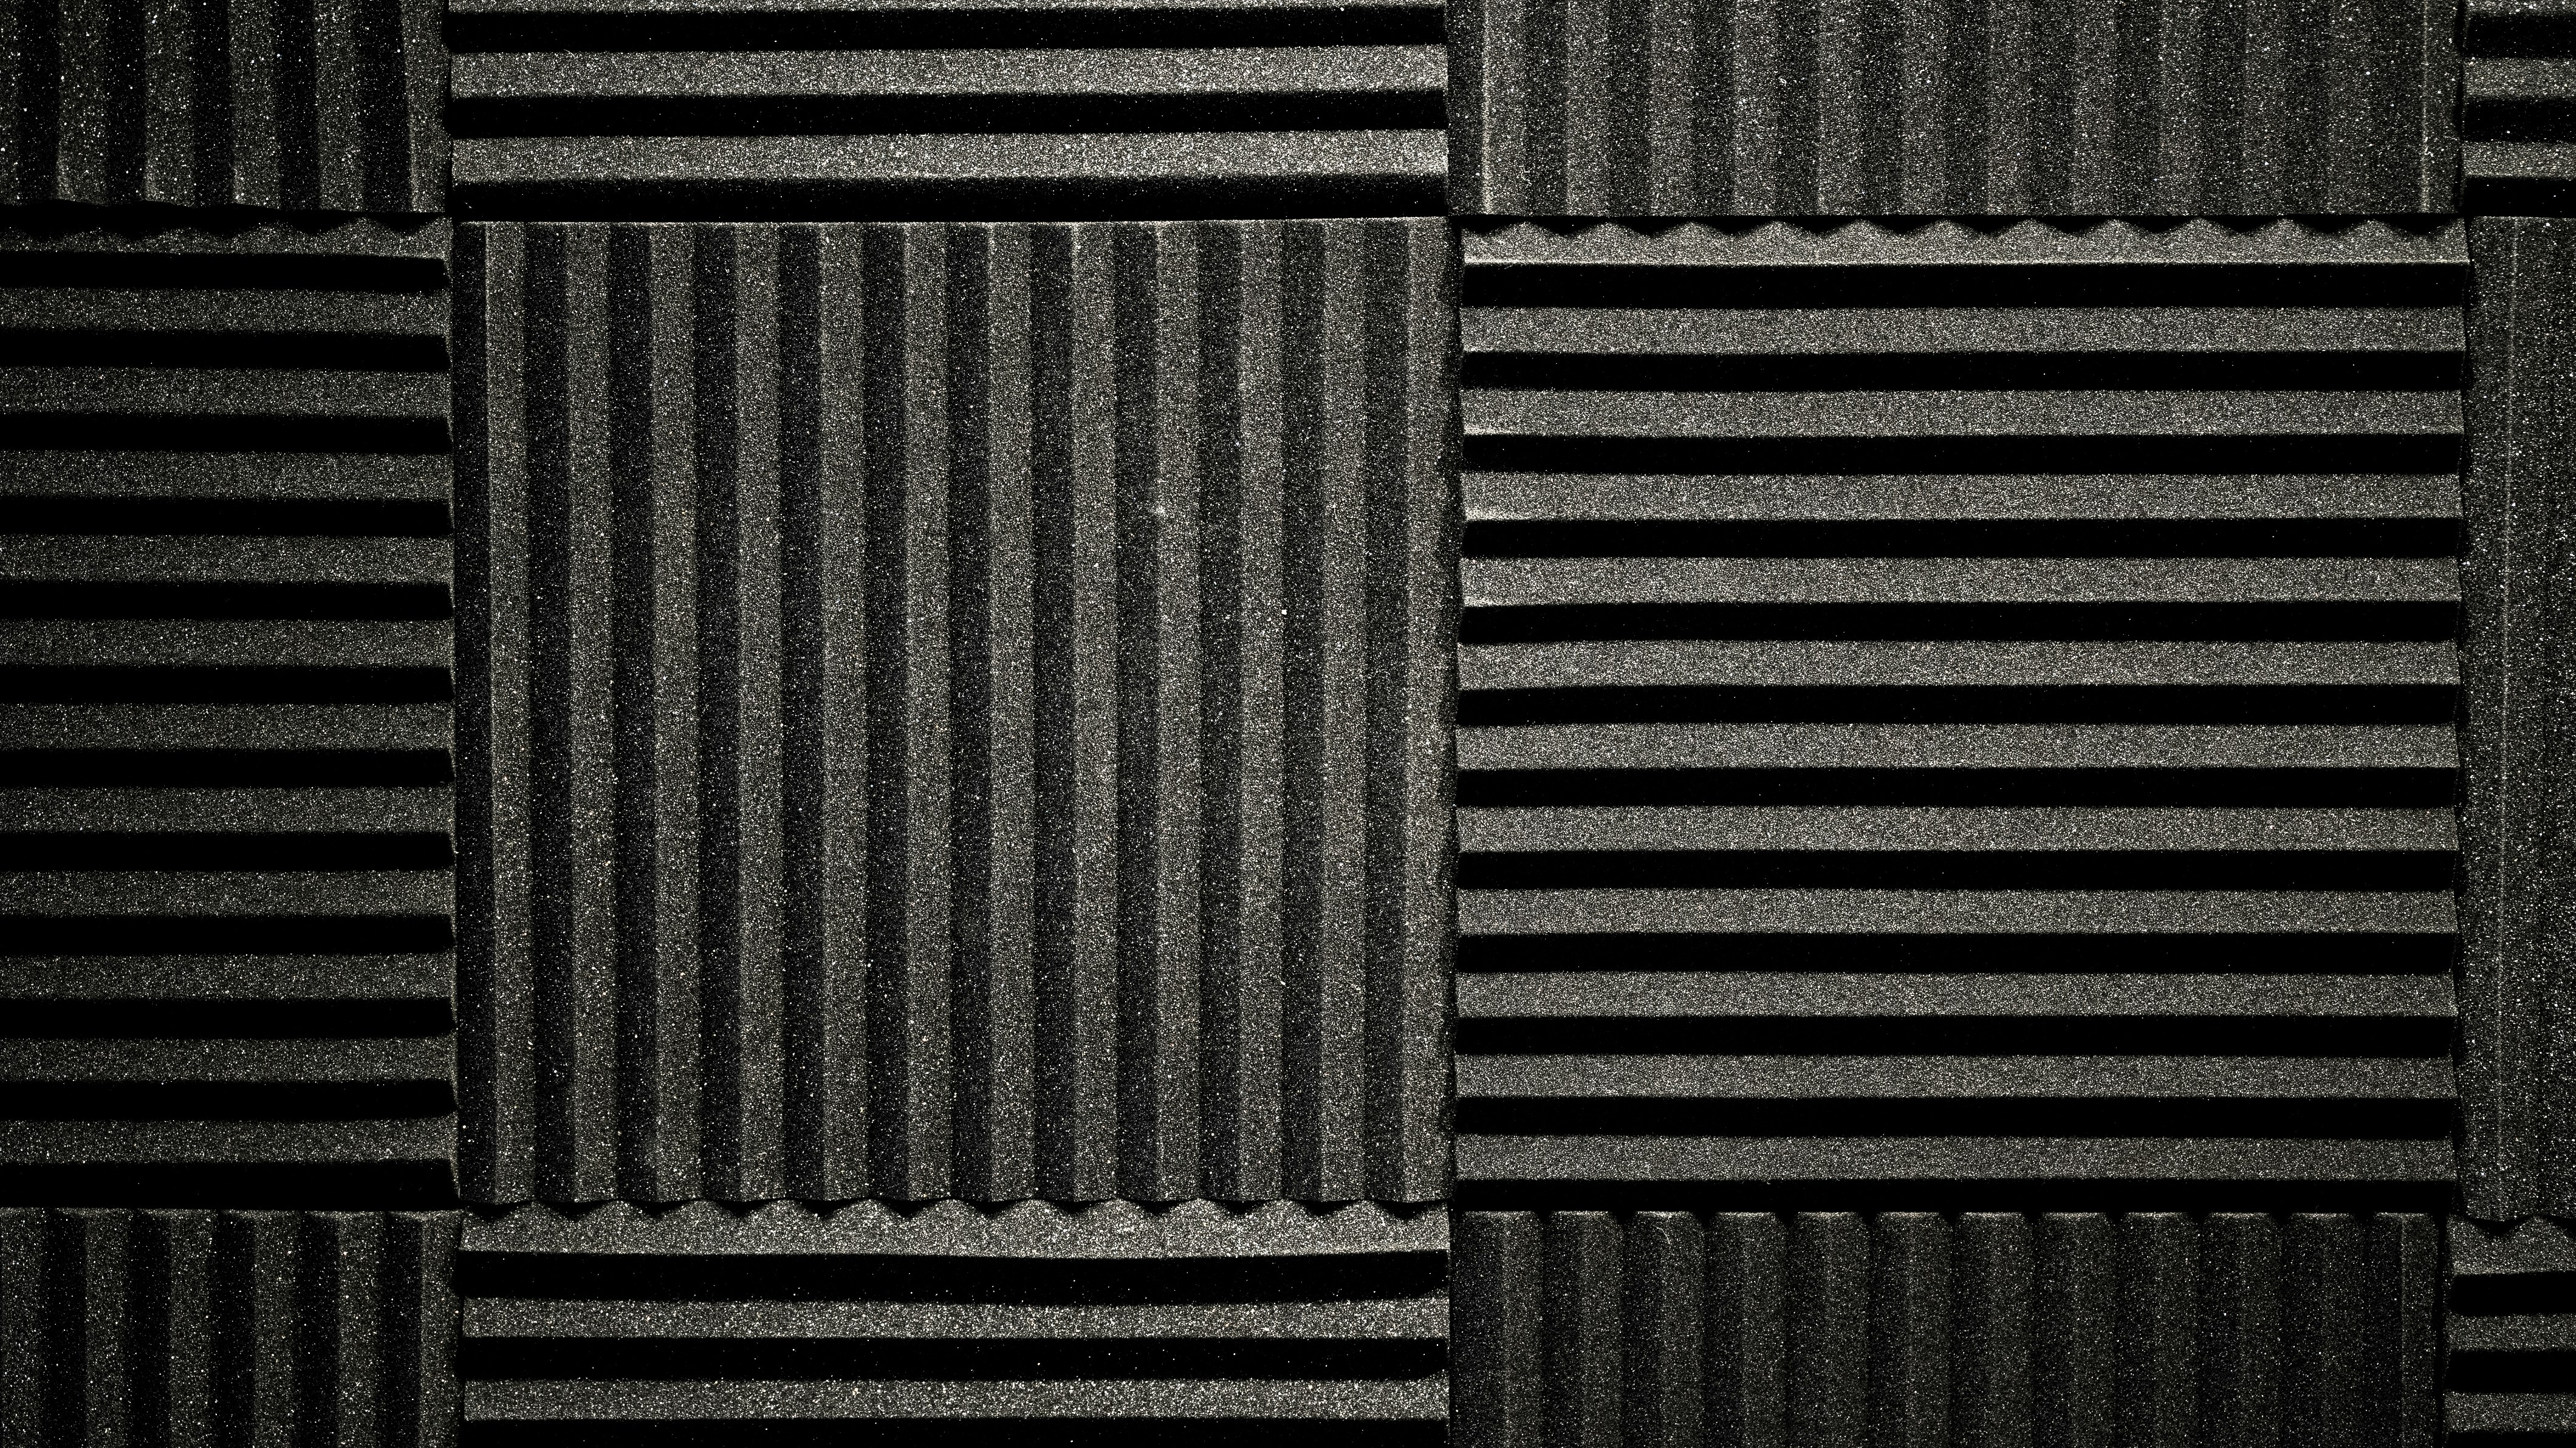
Measure and Plan
Measure your wall width and height. Plan your layout starting from the center or a prominent corner to ensure symmetrical cuts at the edges. Mark your starting vertical line with a spirit level.
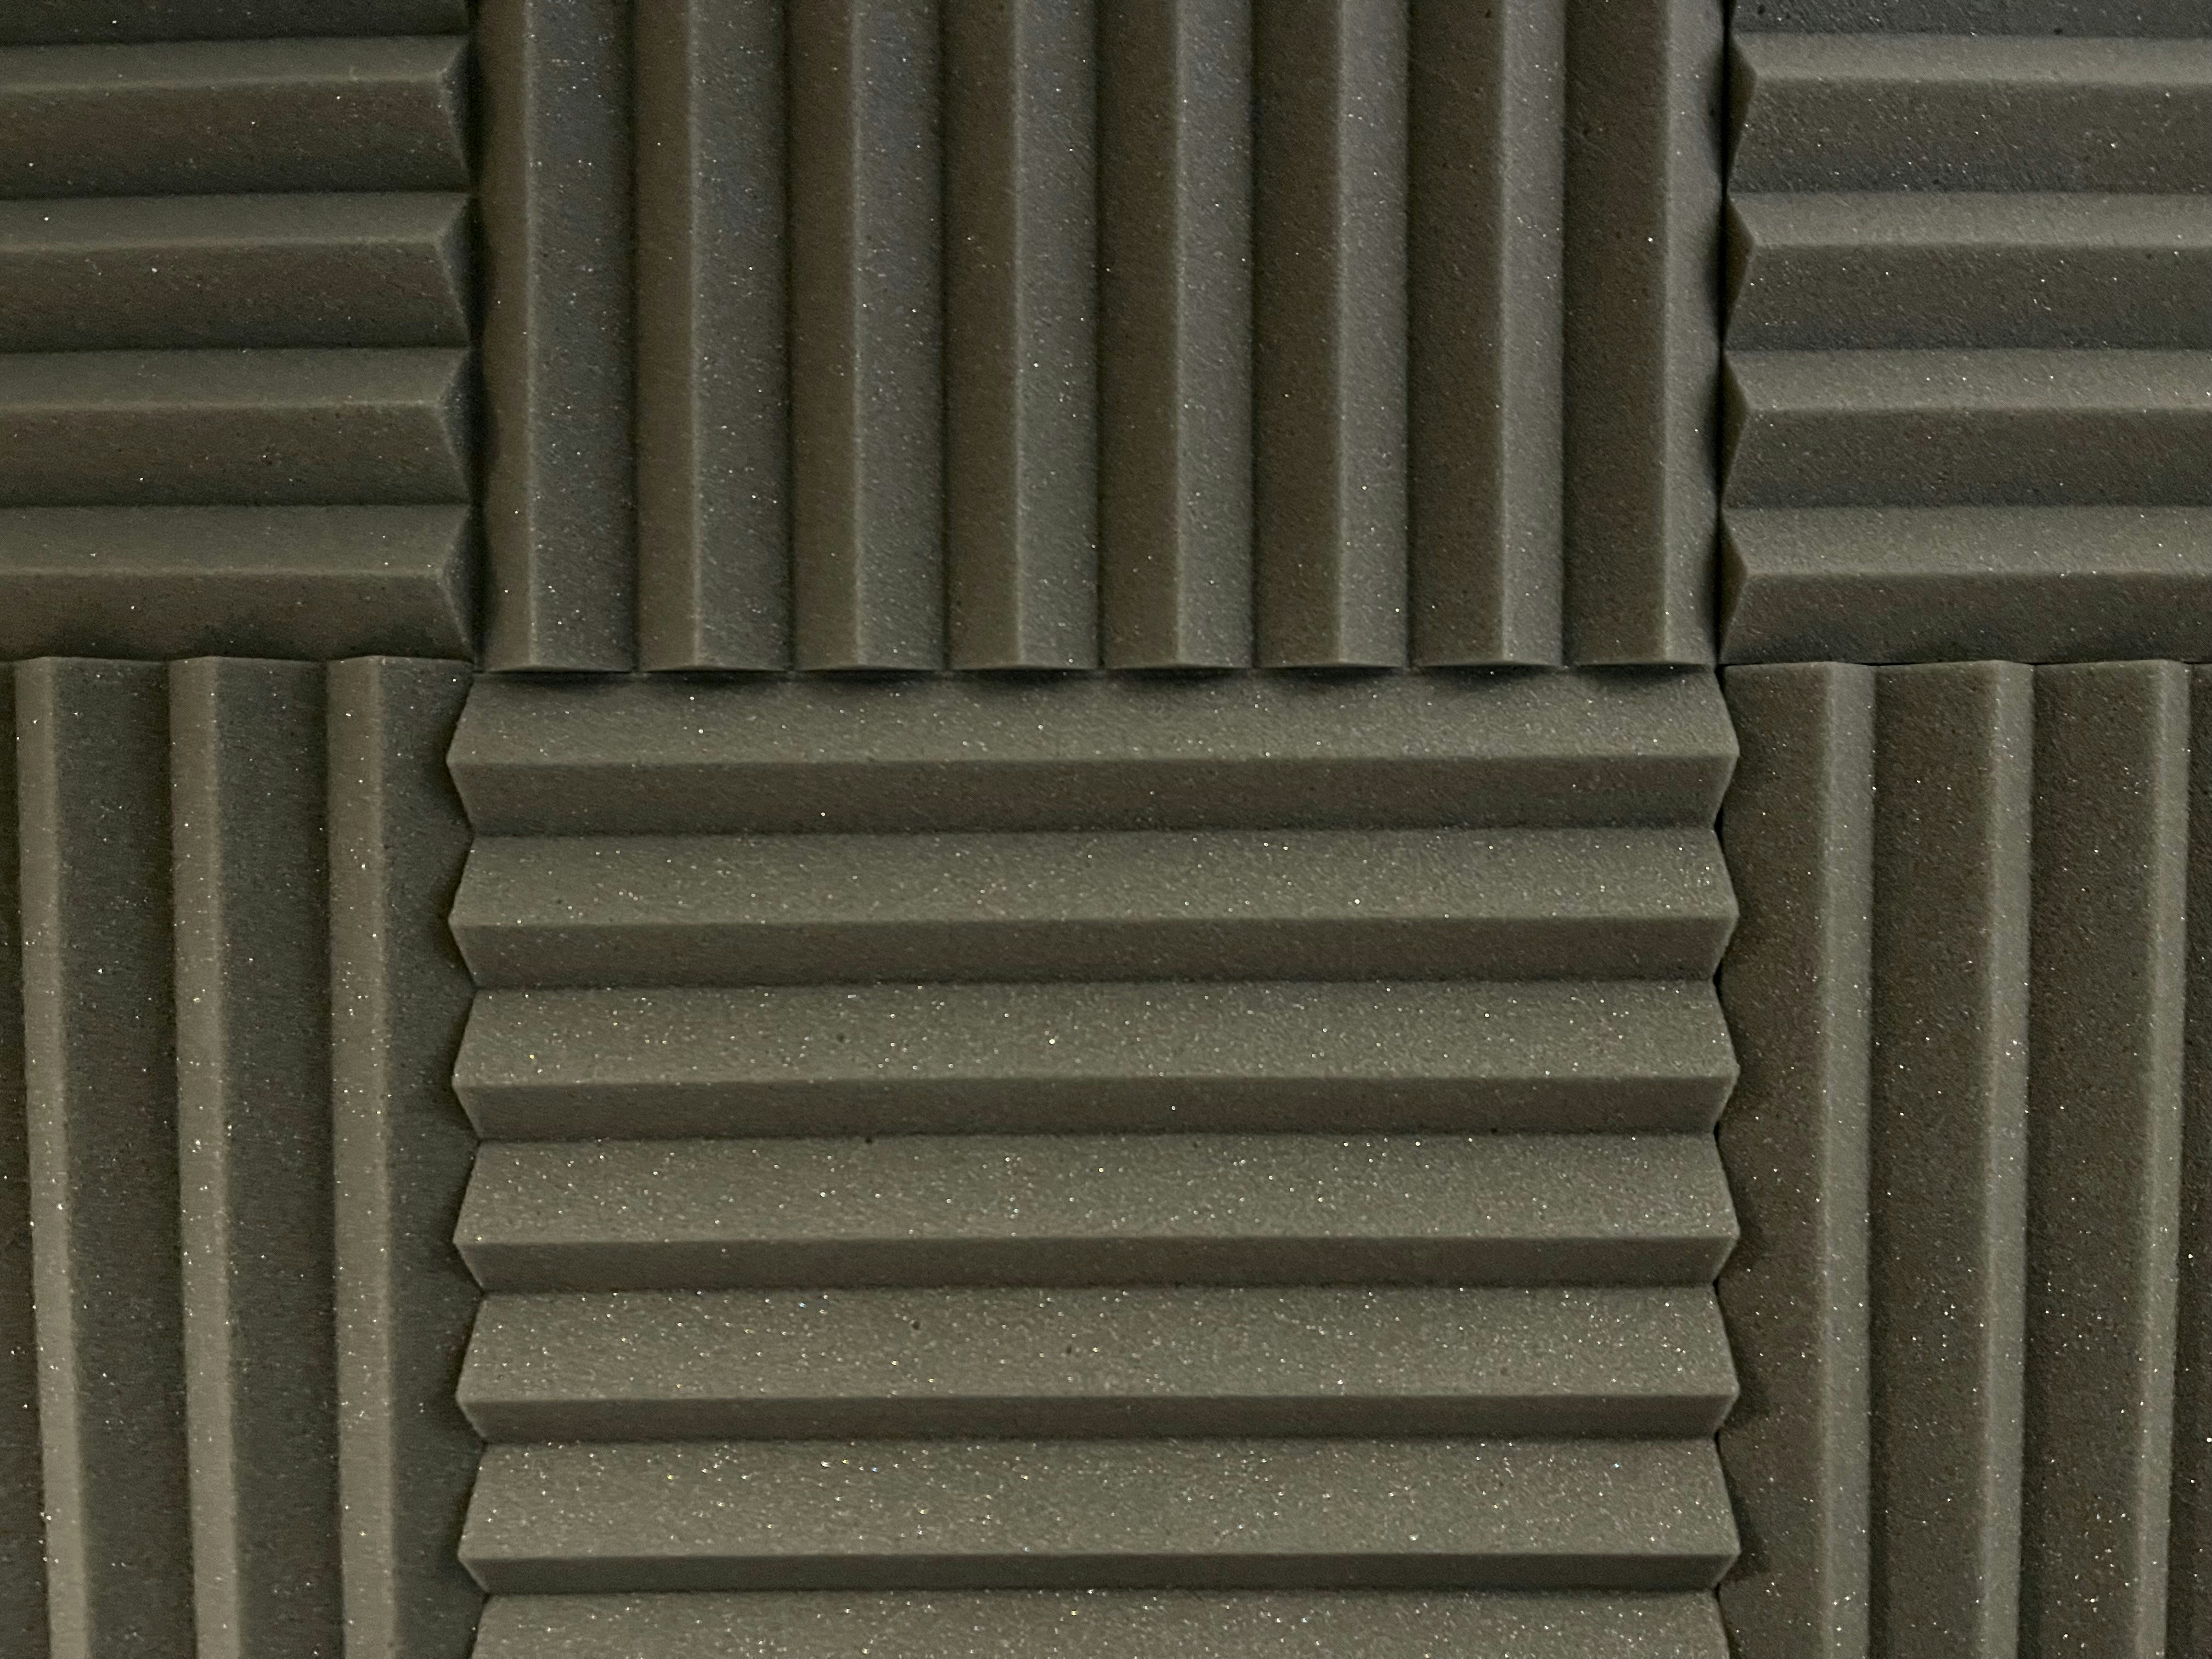
Cutting to Size
If cutting is required, cut vertically through the felt backing using a sharp utility knife. To cut across the wooden slats horizontally, use a fine-tooth saw, cutting face-up to prevent splintering the veneer.

Adhesive & Mounting
Apply high-grab construction adhesive to the back of the felt in a zig-zag pattern. Press firmly against the wall. For ceilings or commercial spaces, use 15 black screws per panel driven directly through the felt for mechanical fixing.
Video Masterclasses
Watch our experts demonstrate perfect installation techniques.
Standard Wall Installation
4:25 mins
Cutting & Fitting Around Outlets
3:10 mins
Common Questions
Need Expert Help?
Our technical support team is available to assist with any installation queries.
Contact Support